Blogg
Här finns tekniska artiklar, presentationer och nyheter om arkitektur och systemutveckling. Håll dig uppdaterad, följ oss på LinkedIn
Här finns tekniska artiklar, presentationer och nyheter om arkitektur och systemutveckling. Håll dig uppdaterad, följ oss på LinkedIn

API gateways are becoming increasingly more popular, and for good reasons. As the number of APIs within an organisation grows, the amount of “plumbing” required to expose the APIs in a secure, efficient and maintainable way quickly becomes overwhelming. An API Gateway is an architectural pattern which introduces a transparent placeholder between API clients and the APIs, where Cross Cutting Concerns such as Access Control, Monitoring, Logging, Caching and Rate Limiting can be implemented. In this blog series, we’ll be demonstrating how to use Kong, one of the leading Open Source API Gateways, to add various common capabilities to an API.
An API Gateway product is a software component or framework that implements the API Gateway pattern. It acts as a common entry point for underlying APIs, and allows various common capabilities to be applied to the API interactions. By externalizing common, cross-cutting concerns (such as enforcing an autentication and authorization policy) a uniform and well tested implementation can be used for multiple APIs, while at the same time simplifying the underlying APIs. Technically, the API Gateway functions as a Reverse Proxy, and not surprisingly, several of the Open Source API Gateway products are built on top of a solid Reverse Proxy product.
 Photo by Jason Dent on Unsplash
While the big Cloud vendors provide their own API Gateways as part of more ambitions API Management Platforms, there are several Open Source API Gateway alternatives that have the additional benefit of being cloud/on premise agnostic. One of the more popular Open Source choices is Kong Gateway. As with many OS products, the community edition is free for use but lacks some of the premium features found in the Enterprise edition. The community edition is however capable enough to be an excellent starting point for getting the toes wet with API Management.
In this first post, we’ll show how to use the Kong Gateway to enforce a couple of different authentication and authorization strategies:
As usual, we’ll use docker containers and docker compose to minimize the installation requirements while hiding irrelevant details to focus on the essential configuration required. The fully working example can be found in the Github repository. Note: Since the project uses Git submodules, it should be checked out with the --recursive flag to recursively also fetch the submodules:
git clone --recursive https://github.com/callistaenterprise/blog-api-gateway-kong
Modern APIs that rely on end user’s access rights typically uses OAuth 2.0 with OpenID Connect (OIDC) for authentication and authorization. Details about OAuth 2.0 and OIDC can be found in numerous blogs (see e.g. curity.io), so we won’t repeat that here. It is sufficient to say that a mechanism for enforcing OIDC-based authentication and authorization must be able to detect sessions that are not already authenticated, and redirect those users to an appropriate login mechanism. Once the user has authenticated, the resulting access token (and potentially also a corresponding refresh token) should be managed and forwarded to the underlying API. No API calls must be allowed without a valid access token.
 Photo by Mourizal Zativa on Unsplash
In Kong Gateway, externalizing a cross-cutting concern such as this is done using a Plugin which is declaratively configured to be applied to one or more Services or Routes or globally. Plugins in Kong are normally written in Lua, and the different Kong editions comes with different subsets of standard plugins (see Kong Hub). While the official Kong openid-connect plugin is only available in the Kong Enterprise Edition, there is a lightweight and excellent OS alternative kong-oidc plugin maintained by Nokia which implements the OIDC Relying Party functionality.
For simplicity, we’ll use an existing docker image to simulate an upstream API, onto which we shall apply access control. The echo-server implements a generic http-based api, echoing request headers and body back to the caller:
services:

  upstream:
    image: ealen/echo-server
The API is available on port 80, but we are not exposing this port on the host network. It should only be available via the Kong gateway that we are about to add soon (which will use the docker-internal upstream:80 address to proxy the API).
We’ll use a Keycloak docker container as OAuth 2.0/OIDC server.
services:

  ...

  keycloak:
    image: quay.io/keycloak/keycloak
    ports:
      - "9080:9080"
    environment:
      KEYCLOAK_ADMIN: admin
      KEYCLOAK_ADMIN_PASSWORD: admin
    command:
      - start-dev
      - --db=dev-mem
      - --hostname=host.docker.internal
      - --http-port=9080
      - --import-realm
    volumes:
      - ./keycloak-test-realm.json:/opt/keycloak/data/import/realm.json
As per the spec, we need to configure an OAuth client to be used by the Kong oidc plugin for interacting with Keycloak. For implicity, we define the client in a realm test that we import on Keycloak startup:
  ...
  "clients": [
    {
      "clientId": "oidc-client",
      "enabled": true,
      "clientAuthenticatorType": "client-secret",
      "secret": "secret",
      "redirectUris": [
        "http://host.docker.internal:8080/oidc/*"
      ],
      "standardFlowEnabled": true,
      "protocol": "openid-connect"
    }
    ...
We also add a testuser user with password secret:
  "users": [
	{
	  "username" : "testuser",
	  "enabled" : true,
	  "credentials" : [
		  {
	        "type": "password",
	        "value": "secret"
	  ]
	}
	...
In this setup, an extra complicating factor is the fact that the network addresses of the OAuth 2.0 server must be reachable both within the docker compose network (in order for the kong plugin to interact with the OAuth server) and on the localhost network (in order for a browser to be directed to an OIDC login page). The trick we will use is the magical host name host.docker.internal which automatically resolves to the docker host’s network within docker. We just have to make that sure that this hostname also resolves to localhost from the browser. We do that by adding it as an explicit entry to the /etc/hosts file:
echo '127.0.0.1 host.docker.internal' | sudo tee -a /etc/hosts > /dev/null
Running a Kong docker container with a custom plugin such as the kong-oidc plugin requires a custom docker image where the plugin has been added. For this example, the kong-with-plugins folder contains a Dockerfile used to build the custom image, whereas the kong-with-plugins/plugins subfolder contains a git submodule which embeds the kong-oidc lua source code. The following Dockerfile produces the image:
FROM kong:2.8.3
USER root

COPY ./plugins/kong-oidc /custom-plugins/kong-oidc
WORKDIR /custom-plugins/kong-oidc
RUN luarocks make

USER kong
WORKDIR /
Note: If the kong-with-plugins/plugins/kong-oidc folder is empty, you may have initialize the submodules explicitly first:
git submodule update --init --recursive
We can now configure the Kong container to expose our sample API behind the OIDC plugin. We need to provide two configuration files: kong.conf provides the technical configuration for the container image (network ports and plugins):
# listening ports
proxy_listen = 0.0.0.0:8080
admin_listen = 0.0.0.0:8081

# enabled plugins
plugins = bundled, oidc
For the routing configuration, we’ll use the Kong declarative configuration in DB-less mode and provide a kong.yml yaml configuration file. In the configuration, we specify that our upstream api should be available beneath the path /oidc/, with the kong-oidc plugin applied:
_format_version: "2.1"
_transform: true

services:
- name: oidc
  host:  upstream
  port: 80
  protocol: http
  plugins:
  - name: oidc
    config:
      discovery: http://host.docker.internal:9080/realms/test/.well-known/openid-configuration
      client_id: oidc-client
      client_secret: secret
  routes:
  - name: oidc-route
    paths:
    - /oidc/
    strip_path: true
The oidc plugin is configured with OIDC discovery url to Keycloak, as well as the client and secret to use. The /oidc/ path prefix will be removed before delegating to the upstream API.
Finally, we add the Kong gateway service to our docker compose file, which now looks like this:
version: '3.9'

services:

  upstream:
    image: ealen/echo-server

  keycloak:
    image: quay.io/keycloak/keycloak
    ports:
      - "9080:9080"
    environment:
      KEYCLOAK_ADMIN: admin
      KEYCLOAK_ADMIN_PASSWORD: admin
    command:
      - start-dev
      - --db=dev-mem
      - --hostname=host.docker.internal
      - --http-port=9080
      - --import-realm
    volumes:
      - ./keycloak-test-realm.json:/opt/keycloak/data/import/realm.json

  kong:
    image: kong-with-plugins
    build:
      context: ./kong-with-plugins
    user: root
    volumes:
      - ./kong.yml:/etc/kong/kong.yml
      - ./kong.conf:/etc/kong/kong.conf
    environment:
      KONG_DATABASE: "off"
      KONG_DECLARATIVE_CONFIG: "/etc/kong/kong.yml"
    ports:
      - "8080:8080"
      - "8081:8081"
We are now ready to test the Kong Gateway in action. Start up the containers using docker compose in a terminal window:
docker compose up -d
Then open up a browser, and direct it to our API, via the Kong Gateway at http://host.docker.internal:8080/oidc/api/. You should be redirected to Keycloak for login.
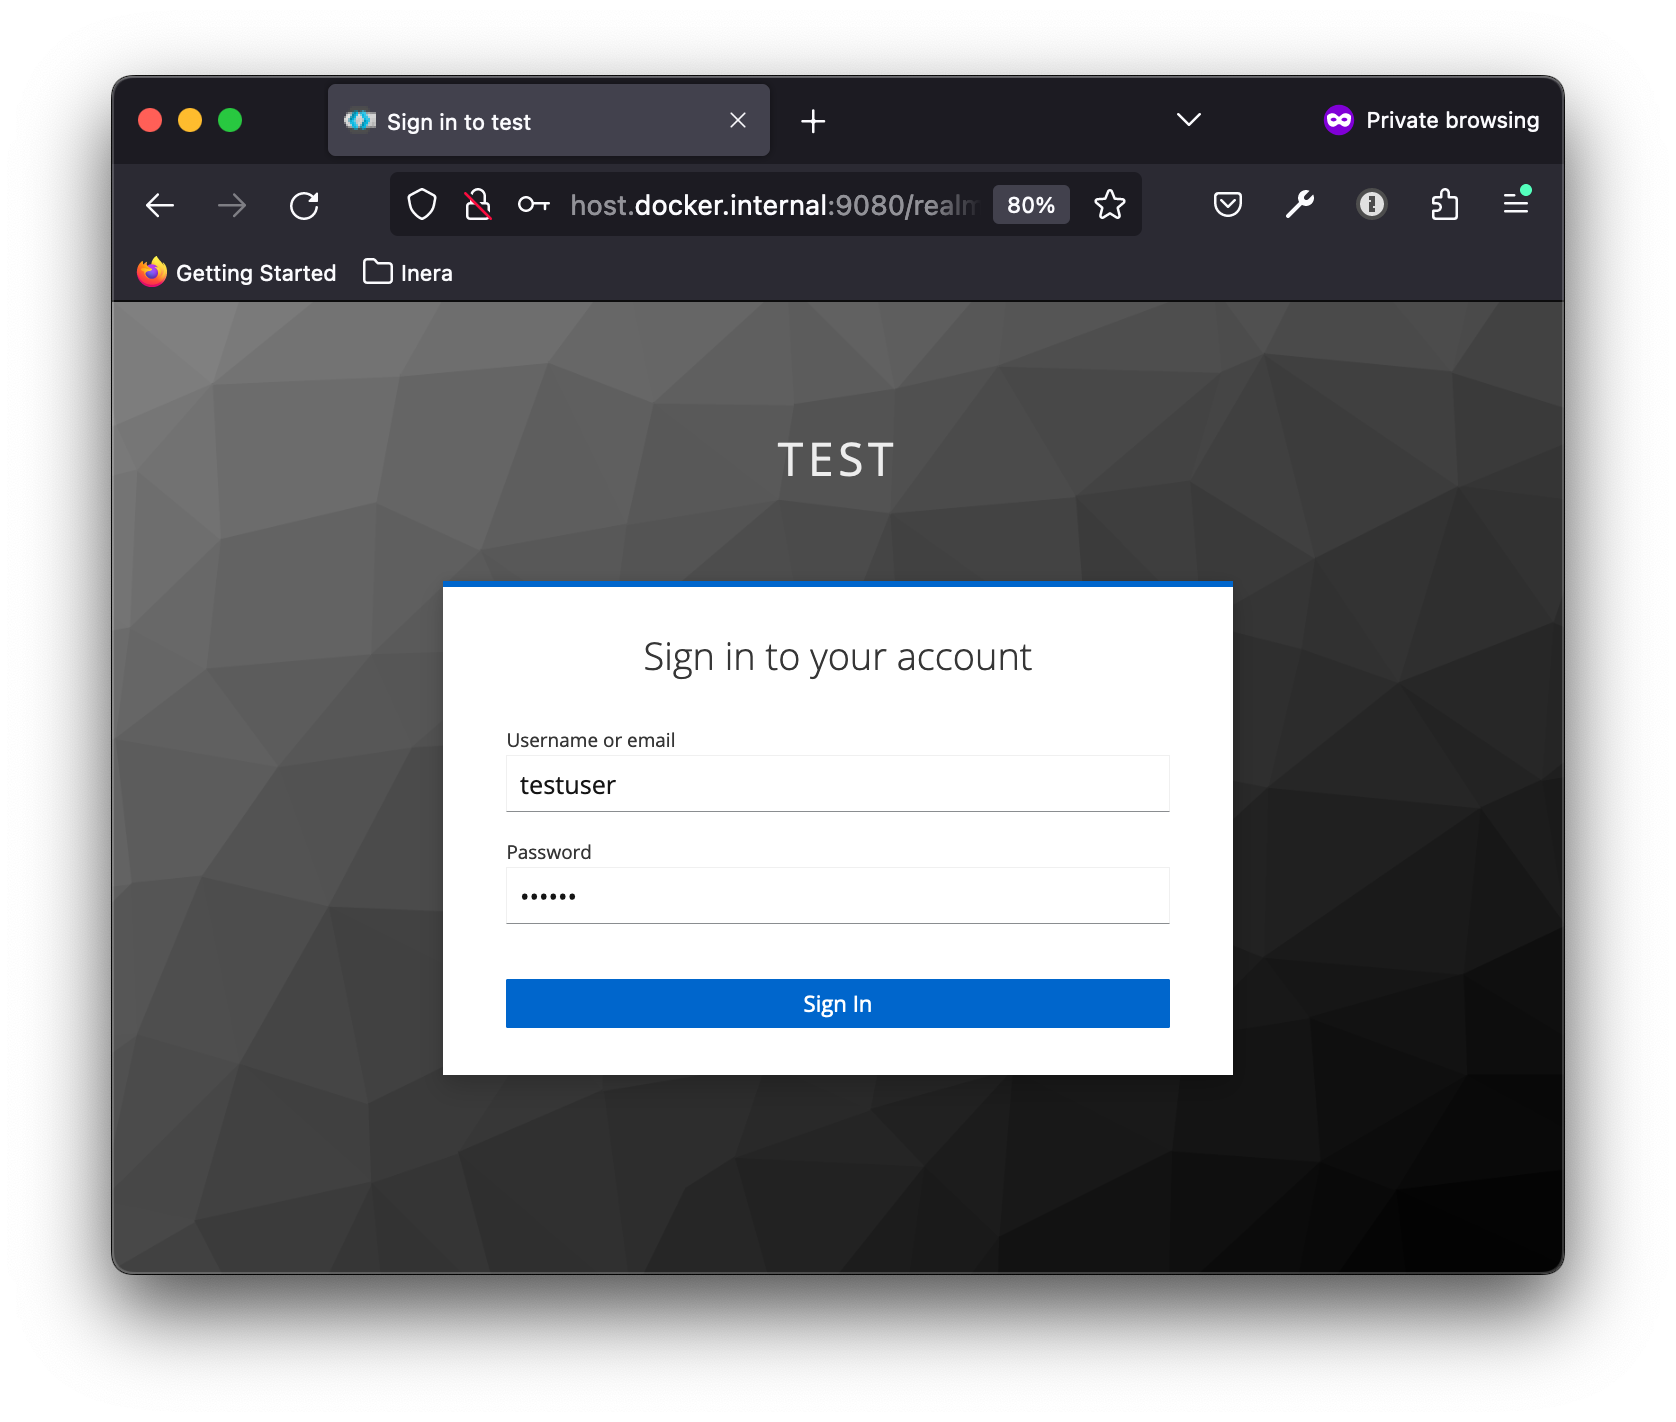
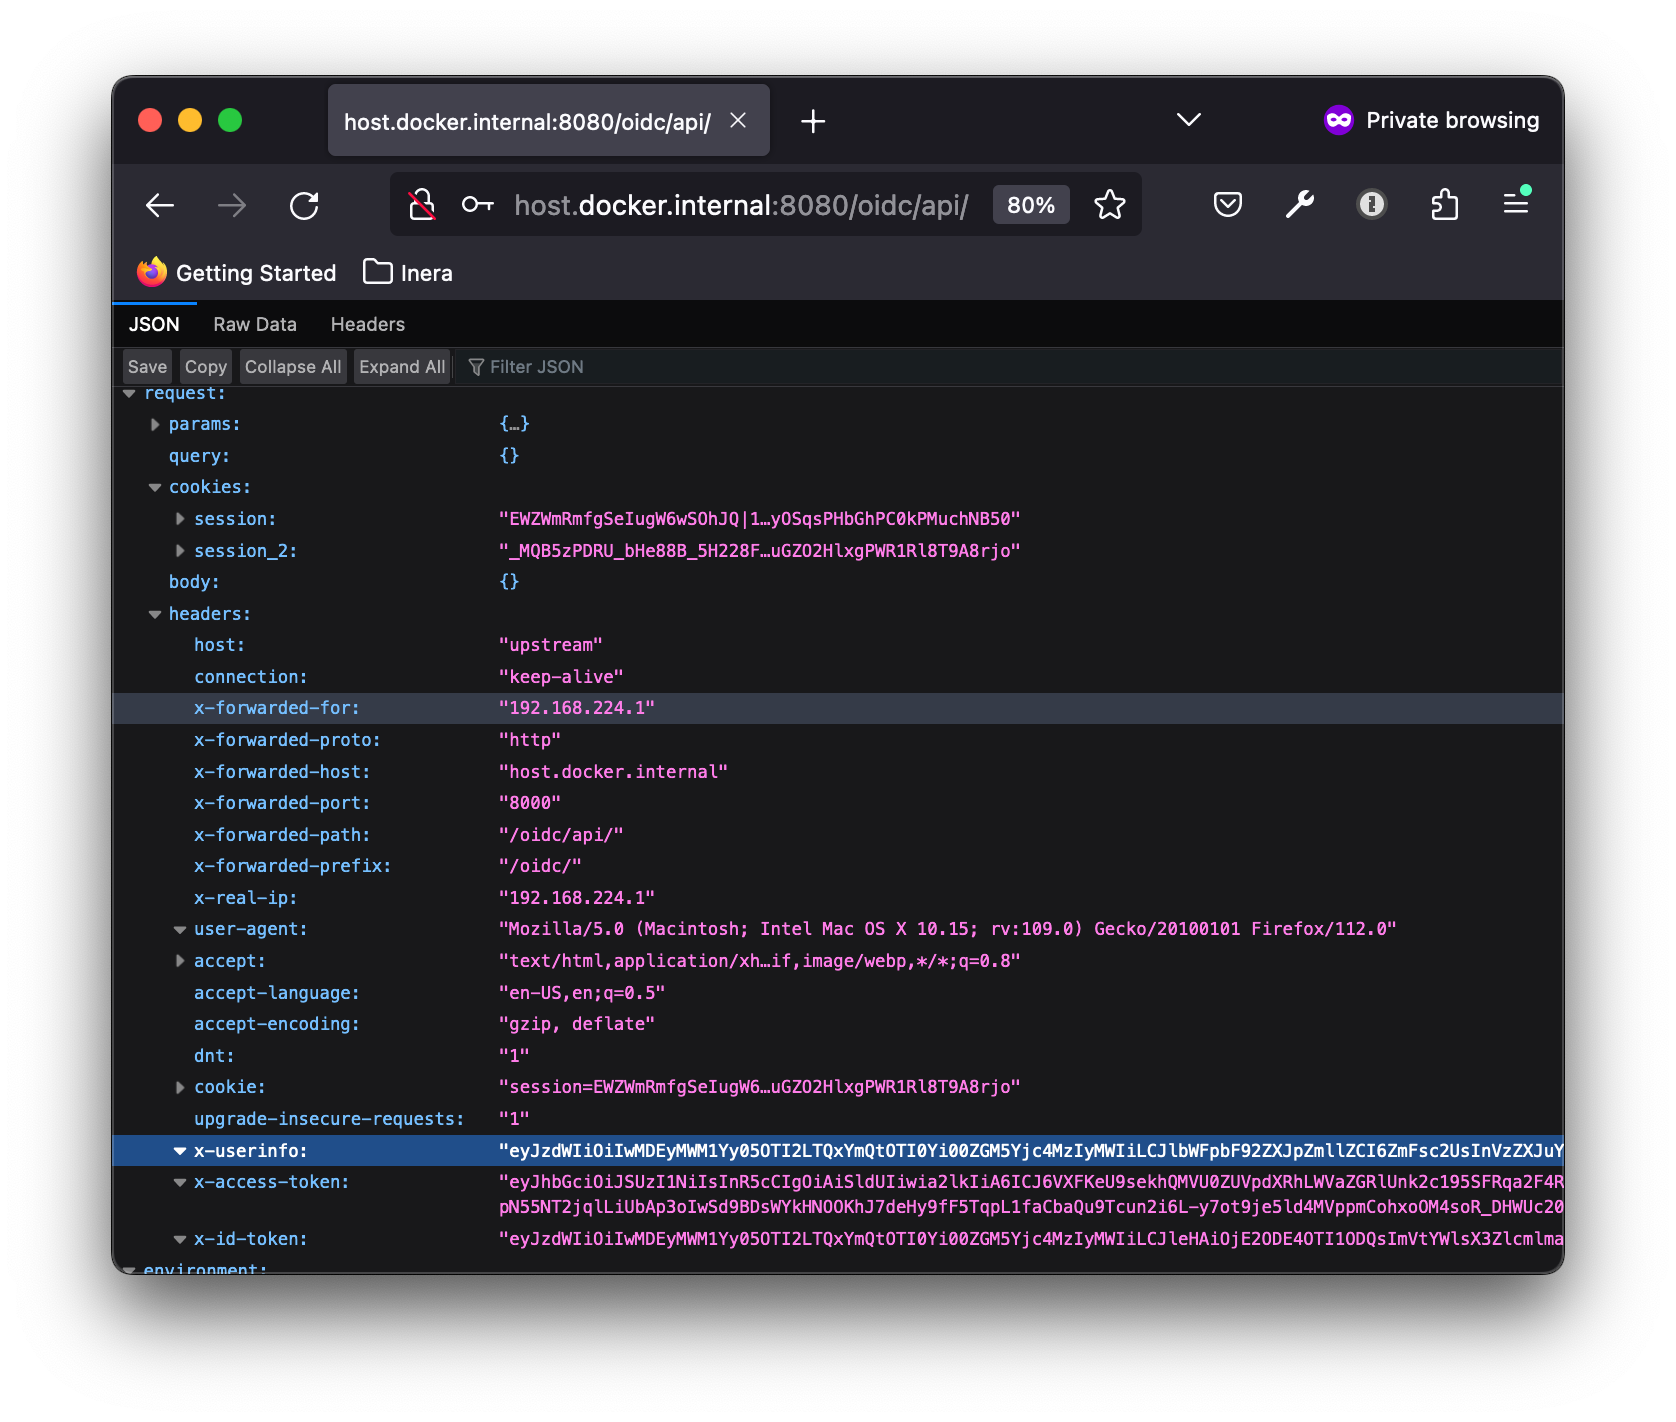
Log in as testuser, and you should be redirected back to the upstream api. The oidc plugin maintains the user session, and passes on the OAuth 2.0 access token to the api in the x-access-token request header, the OIDC id token in x-id-token and the user info in x-userinfo:
Finally, shut down the containers:
docker compose down
When authenticating a system actor using OAuth 2.0, the Client Credentials flow is used. In this scenario, we don’t need the full redirect and session maintenance model of OIDC. The calling system obtains an access token from the OAuth server beforehand, and provides it as an Authorization header for all subsequent API calls. Hence to protect the API, we just need to verify that a valid access token is present in each request. The Kong enterprise edition contains a full-fledged oauth2-introspection plugin, but we can use the simpler Open Source kong-token-introspection plugin for the same purpose.

First, we add another OAuth 2.0 client for our calling system to use, with the custom scope system-access:
  "users": [
    ...
    {
      "id": "service-account-system-client",
      "username": "service-account-system-client",
      "enabled": true,
      "serviceAccountClientId": "system-client"
    },
    ...
  ],
  "clients": [
     ...
    {
      "clientId": "system-client",
      "enabled": true,
      "clientAuthenticatorType": "client-secret",
      "secret": "secret",
      "serviceAccountsEnabled": true,
      "authorizationServicesEnabled": true,
      "protocol": "openid-connect",
      "defaultClientScopes": [
        "system-access"
      ]
    },
    ...
  ],
    "clientScopes": [
      {
        "name": "system-access",
        "protocol": "openid-connect"
      },
      ...
  ]
We also need to add an OAuth 2.0 client to be used by the kong-token-introspection plugin in order to validate access tokens with the OAuth server:
  "clients": [
  ...
    {
      "clientId": "introspection-client",
      "enabled": true,
      "clientAuthenticatorType": "client-secret",
      "secret": "secret",
      "serviceAccountsEnabled": true,
      "authorizationServicesEnabled": true,
      "protocol": "openid-connect"
    }
    ...
We need to update the Dockerfile to bundle the kong-token-introspection plugin:
...

COPY ./plugins/kong-token-introspection /custom-plugins/kong-token-introspection
WORKDIR /custom-plugins/kong-token-introspection
RUN luarocks make

...
and update kong.conf to load it:
plugins = bundled, oidc, access-token-introspection
We then add configuration in kong.yml to expose our sample API beneath the path /token/, with the kong-token-introspection plugin applied:
services:
...
- name: access-token
  host:  upstream
  port: 80
  protocol: http
  plugins:
  - name: access-token-introspection
    config:
      introspection_endpoint: http://host.docker.internal:9080/realms/test/protocol/openid-connect/token/introspect
      client_id: introspection-client
      client_secret: secret
      scope: system-access
  routes:
  - name: access-token-route
    paths:
    - /token/
    strip_path: true
The plugin is configured with the introspection url to Keycloak, as well as the client and secret to use. We also require the access token to contain the scope system-access in order to allow access.
We are now ready to test the Client Credentials flow. Rebuild the docker image, and start up the containers using docker compose in a terminal window:
docker compose build
docker compose up -d
Retrieve an access token from Keycloak using the Client Credentials flow
http://host.docker.internal:9080/realms/test/protocol/openid-connect/token' \
--header 'Content-Type: application/x-www-form-urlencoded' \
--data-urlencode 'client_id=system-client' \
--data-urlencode 'client_secret=secret' \
--data-urlencode 'grant_type=client_credentials
The result is a json object containing the access token with additional meta data:
{"access_token":"....","expires_in":300,"refresh_expires_in":0,"token_type":"Bearer","not-before-policy":0,"scope":"profile email"}
For convenience, use jq to extract the access token and store it as a shell variable:
ACCESS_TOKEN=`curl -k --location --request POST 'http://host.docker.internal:9080/realms/test/protocol/openid-connect/token' \
--header 'Content-Type: application/x-www-form-urlencoded' \
--data-urlencode 'client_id=system-client' \
--data-urlencode 'client_secret=secret' \
--data-urlencode 'grant_type=client_credentials' | jq -j .access_token`
Then use it to call the api, providing the access token as a header:
curl -H "Authorization: Bearer $ACCESS_TOKEN" http://host.docker.internal:8080/token/api/ | jq .request.headers
In the echo’ed result, we can see that the sub property from the access token is passed as header x-credential-sub and the scope property as x-credential-scope:
{
  "host": "upstream",
  ...
  "x-credential-sub": "service-account-system-client",
  "x-credential-scope": "system-access"
}
If we try to call the api without a valid access token, access is denied:
curl http://host.docker.internal:8080/token/api/ | jq .

{
  "data": [],
  "error": {
    "code": 401,
    "message": "Unauthenticated."
  }
}
Finally, shut down the containers:
docker compose down
In this post, we have seen how to declaratively add access control based on OAuth/OIDC to an arbitrary API using Kong Gateway. It clearly demonstrates the value of the API Gateway pattern: the ability to externalize common behaviours from APIs and realize them in a single place is both simple and elegant, and allows for uniform, well encapsuled and tested realizations of important behaviours.
A fully working, minimalistic example can be found in the Github repository.
In the next part, we’ll expand the usage to examplify authentication and authorization using Mutual TLS and Access Control Lists. Stay tuned!
The following article has been a very useful inspiration when preparing this material: