Blogg
Här finns tekniska artiklar, presentationer och nyheter om arkitektur och systemutveckling. Håll dig uppdaterad, följ oss på LinkedIn
Här finns tekniska artiklar, presentationer och nyheter om arkitektur och systemutveckling. Håll dig uppdaterad, följ oss på LinkedIn

Since https now being the default protocol in modern browsers rather than plain http, it is often necessary to be able to use https in local development and test environments. While many tools bundles a mechanism for automatically create self-signed server certificates for https usage, it is often necessary to be able to create a full Public Key Infrastructure for the development environment, with a Certificate Authority (CA) issuing both server certificates (used for backend servers) and client certificates (used for Mutual TLS). In this short blog post, we’ll summarize the steps required to set up a development PKI using OpenSSL.
A Public Key Infrastructure provides a mechanism for establishing trust between software components, based on cryptography. A minimal PKI includes a trust anchor in the form of a Root Certificate Authority, and one or several server or client certificates issued by the CA. Each certificate consists of two parts: a private key and a public key. The private key is only known to the party who owns the certificate, wheres the public key can be distributed among parties that need to communicate. If the public key of the trust anchor, i.e. the root CA has been securely distributed to all parties on beforehand, the communicating parties can then safely exchange public keys on a public, unsafe network since the public keys are issued (and hence signed) by the trusted CA.
The same mechanism we use in a production environment to establish trust between servers, users and devices needs to be mimicked in a development environment. If we use a local browser to access a web application running locally or in a local docker or kubernetes cluster, the browser must be able to trust the server certificate that the web application presents during https/SSL handshake. If the browser or another application uses a client certificate to authenticate itself with, the web application needs to be able to trust the client certificate. Hence we must be able to create a minimal PKI for our development environment, in order to use it efficiently.
Luckily, the tooling needed to create a development PKI is readily available: OpenSSL. There are lots of information available on the internet on how to use OpenSSL to create private and public keys, issue signing requests etc. Each time I need to set up a new development PKI, I however find the information I need to be rather scattered and fragmented. So I decided to summarize the steps required in this blog post, mostly for my own needs. Maybe it can provide some value to others as well.
A fully working example can be found in the Github repository.

We will need openssl to create the private and public keys that make upcertificates, as well as the keytool command that is part of a java runtime.
OpenSSL is pre-installed on Linux and UNIX. To install OpenSSL on Windows, download it from www.openssl.org. On a Mac, use homebrew to install it:
brew install openssl
Our first step is to create a root CA, consisting of a private and public key pair. We also package the public key of the root CA into a trustStore, since that is a format many java-based tools uses to configure a trust anchor.
For convenience, I have packaged the commands needed and their parameters into a shell script in order to easily repeat them. The meta data for the certificate can be provided in a config file, which is convenient for repeatability. This it the script used to create a root CA and corresponding trustStore:
#!/bin/bash

CA_NAME=${1:-localCA}

# Generate CA private key
openssl genrsa -out ${CA_NAME}.key 4096

# Create CA certificate
openssl req -x509 -new -nodes -key ${CA_NAME}.key -config ${CA_NAME}.req.conf -sha256 -days 1024 -out ${CA_NAME}.crt

# Export public key into trustStore in p12 format
# Since Java doesn't accept p12 truststores produced with OpenSSL, using keytool is required
keytool -import -file ${CA_NAME}.crt -alias ${CA_NAME} -storepass secret -noprompt -storetype PKCS12 \
	-keystore ${CA_NAME}.p12
For simplicity, the private key is not password protected. That’s ok for development usage, but of course not recommended in a real environment. For the trustStore, a password is always required. The script sets the trustStore password to secret.
The script takes a single parameter providing a name for the certificate files (which defaults to localCA). It assumes a config file with the same name with extension .conf (i.e. localCA.conf) exists. The config file provides the meta data for the CA certificate:
[req]
distinguished_name = req_distinguished_name
prompt = no
[req_distinguished_name]
C = SE
ST = Sweden
O = Self Signed PKI
After running the command, a private key (localCA.key), public key (localCA.crt) and trustStore (localCA.p12) have been created:
> ./scripts/generate-ca.sh localCA
Certificate was added to keystore
> ls -la
...
-rw-r--r--@  1 bbe  staff   126 21 Apr 11:40 localCA.conf
-rw-r--r--   1 bbe  staff  1781 21 Apr 11:42 localCA.crt
-rw-------   1 bbe  staff  3268 21 Apr 11:42 localCA.key
-rw-r--r--   1 bbe  staff  1654 21 Apr 11:42 localCA.p12
Issuing a server certificate is similar: We must generate a private key, then use the private key to create a Certificate Signing Request (CSR) and finally have the CA sign the request to create the signed public key/certificate. We also bundle the private and public keys into a keystore, since that is a format many java-based tools uses to configure server certificates.
Just as with the CA cert, I have packaged the commands needed and their parameters into a shell script in order to easily repeat them. Again for simplicity, the private key is not password protected. For the keyStore, a password is always required. The script sets the keyStore password to secret.
This it the script used to create a certificate:
#!/bin/bash

CERTIFICATE_NAME=$1
CA_NAME=${2:-localCA}

# Generate private key
openssl genrsa -out ${CERTIFICATE_NAME}.key 2048

# Create CSR
openssl req -new -key ${CERTIFICATE_NAME}.key -config ${CERTIFICATE_NAME}.conf -out ${CERTIFICATE_NAME}.csr

# Issue certificate from CSR
openssl x509 -req -in ${CERTIFICATE_NAME}.csr -CA ${CA_NAME}.pem -CAkey ${CA_NAME}.key -CAcreateserial \
-out ${CERTIFICATE_NAME}.crt -days 825 -sha256 -passin pass: -extfile ${CERTIFICATE_NAME}.ext

# Export private and public keys into p12 format
openssl pkcs12 -export -out ${CERTIFICATE_NAME}.p12 -inkey ${CERTIFICATE_NAME}.key -in ${CERTIFICATE_NAME}.crt \
 -passout pass: -name ${CERTIFICATE_NAME}

# Delete CSR
rm -f ${CERTIFICATE_NAME}.csr

# Delete serial
rm -f ${CA_NAME}.srl
The script takes two parameters: The name of the certificate files, and the name of the CA certificate (which defaults to localCA). The meta data for the certificate is split into 2 config files: a .conf file provides meta data for the Certificate Signing Request:
[req]
distinguished_name = req_distinguished_name
req_extensions = v3_req
prompt = no
[req_distinguished_name]
C = SE
ST = Sweden
O = Callista Enterprise AB
CN = localhost
[v3_req]
keyUsage = keyEncipherment
extendedKeyUsage = serverAuth
subjectAltName = @alt_names
[alt_names]
DNS.1 = localhost
DNS.2 = host.docker.internal
An .ext file provides meta data for the certificate signing:
basicConstraints=CA:FALSE
nsCertType = server
subjectKeyIdentifier = hash
authorityKeyIdentifier = keyid,issuer
keyUsage = keyEncipherment
extendedKeyUsage = serverAuth
subjectAltName=@local_subject_alt_names
[local_subject_alt_names]
DNS.1 = localhost
DNS.2 = host.docker.internal
A note on the Subject Alt Names (SAN): A certitiface used to identify a network-reachable server must provide information about which hostname(s) the certificate is valid for. In a development environment, that is most likely the special hostname localhost. If we are using a container runtime environment like docker or kubernetes, things get a little more complicated. The hostname under which a docker container is known within the docker network differs from how it is addressed when exposing ports via the docker host (i.e. if accessed from a browser running locally on localhost). In certain situations, a service needs to be reachable both locally (i.e. from a browser) and within the docker network. By including the alternate special hostname host.docker.internal (which resolves automagically to the docker host within the docker network), the certificate will be valid both inside and outside the docker network.
After running the command, a private key (<CERTIFICATE_NAME>.key) and public key (<CERTIFICATE_NAME>.crt) have been created, as well as a keyStore (<CERTIFICATE_NAME>.p12):
> ./scripts/generate-cert.sh localhost localCA
Certificate request self-signature ok
subject=C = SE, ST = Sweden, O = Callista Enterprise AB, CN = localhost
> ls -la
...
-rw-r--r--@  1 bbe  staff   343 21 Apr 12:47 localhost.conf
-rw-r--r--   1 bbe  staff  1781 21 Apr 13:34 localhost.crt
-rw-r--r--@  1 bbe  staff   333 21 Apr 13:31 localhost.ext
-rw-------   1 bbe  staff  1704 21 Apr 13:34 localhost.key
-rw-------   1 bbe  staff  3110 21 Apr 13:34 localhost.p12
Issuing a client certificate is just requires different meta data configuration.
This it a sample client.conf meta data for a client certificate:
[req]
distinguished_name = req_distinguished_name
req_extensions = v3_req
prompt = no
[req_distinguished_name]
C = SE
ST = Sweden
O = Callista Enterprise AB
CN = client
[v3_req]
keyUsage = digitalSignature
extendedKeyUsage = clientAuth
And the corresponding client.ext:
basicConstraints=CA:FALSE
nsCertType = client
subjectKeyIdentifier = hash
authorityKeyIdentifier = keyid,issuer
keyUsage = digitalSignature
extendedKeyUsage = clientAuth
After running the command, a private key (<CERTIFICATE_NAME>.key) and public key (<CERTIFICATE_NAME>.crt) have been created:
> ./scripts/generate-cert.sh client localCA
Certificate request self-signature ok
subject=C = SE, ST = Sweden, O = Callista Enterprise AB, CN = client
> ls -la
...
-rw-r--r--@  1 bbe  staff   236 21 Apr 13:51 client.conf
-rw-r--r--   1 bbe  staff  1655 21 Apr 14:12 client.crt
-rw-r--r--@  1 bbe  staff   169 21 Apr 13:59 client.ext
-rw-------   1 bbe  staff  1704 21 Apr 14:12 client.key
The certificates, keystore and truststore can now be used for server and client authentication. We will use a simple Spring Boot Web application as an example. Use the following config in application.yml to configure Spring Boot for https with optional mutual client authentication:
server:
  port: 8443
  ssl:
    enabled: true
    key-store: classpath:localhost.p12
    key-store-password: secret
    key-store-type: pkcs12
    key-alias: localhost
    client-auth: want
    trust-store: classpath:localCA.p12
    trust-store-password: secret
    trust-store-type: pkcs12
In the sample-server folder, there is a minimal Spring Boot application configured to use optional mTLS authentication. Copy the keystore localhost.p12 and truststore localCA.p12 into sample-server/src/main/resources, then start the sample application from a terminal in the sample-server folder:
> mvn spring-boot:run
...
2023-04-21T17:29:52.583+02:00  INFO 87575 --- [           main] o.s.b.w.embedded.tomcat.TomcatWebServer  : Tomcat started on port(s): 8443 (https) with context path ''
In a separate terminal window, issue an anonymous curl request to verify the https server certificate is accepted by the client:
> curl --cacert localCA.crt https://localhost:8443/

hello, anonymous
Now issue another request providing the client certificate, to verify the client certificate is accepted by the server:
> curl --cacert localCA.crt --key client.key --cert client.crt https://localhost:8443/

hello, client
In order for a browser to accept the server certificate issued by our own, self-signed CA, the CA certificate must be installed in the browser. This works differently for different OS and browsers. On a Mac, installing the CA certificate in the system keychain is required for e.g. Safari (details can be found here). The same is true for Edge on Windows and Chrome on Linux (details can be found here).
Firefox uses its own Certificate configuration. Instructions on how to add a root CA in Firefox can be found here.
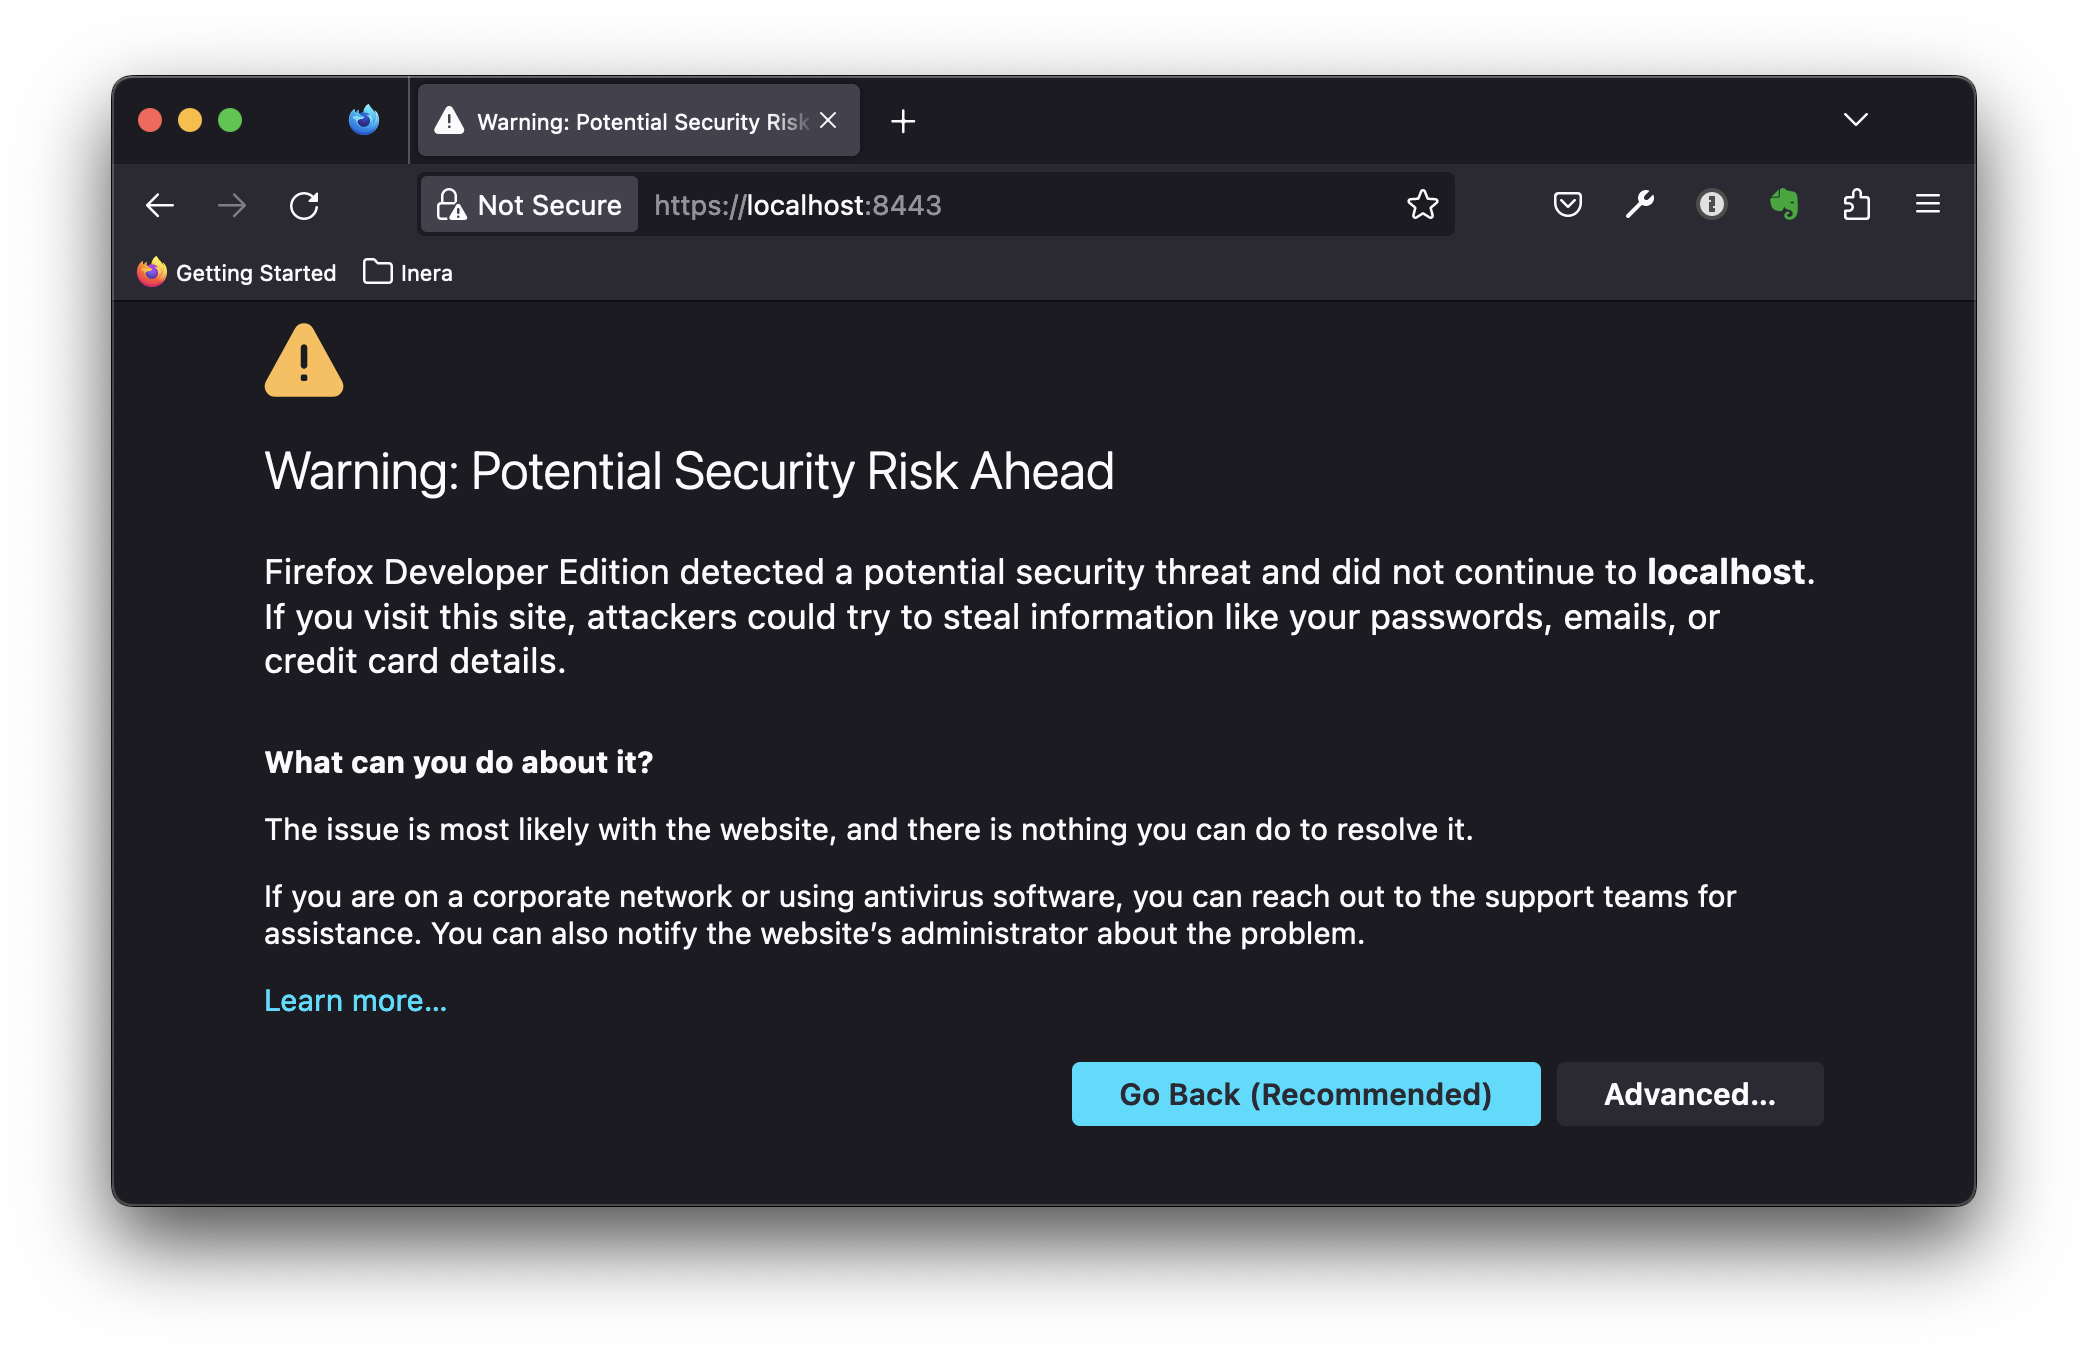
Before installing the localCA.crt CA certificate in e.g. Firefox, navigating to https://localhost:8443/ will give a security warning that the server certificate isn’t trusted:
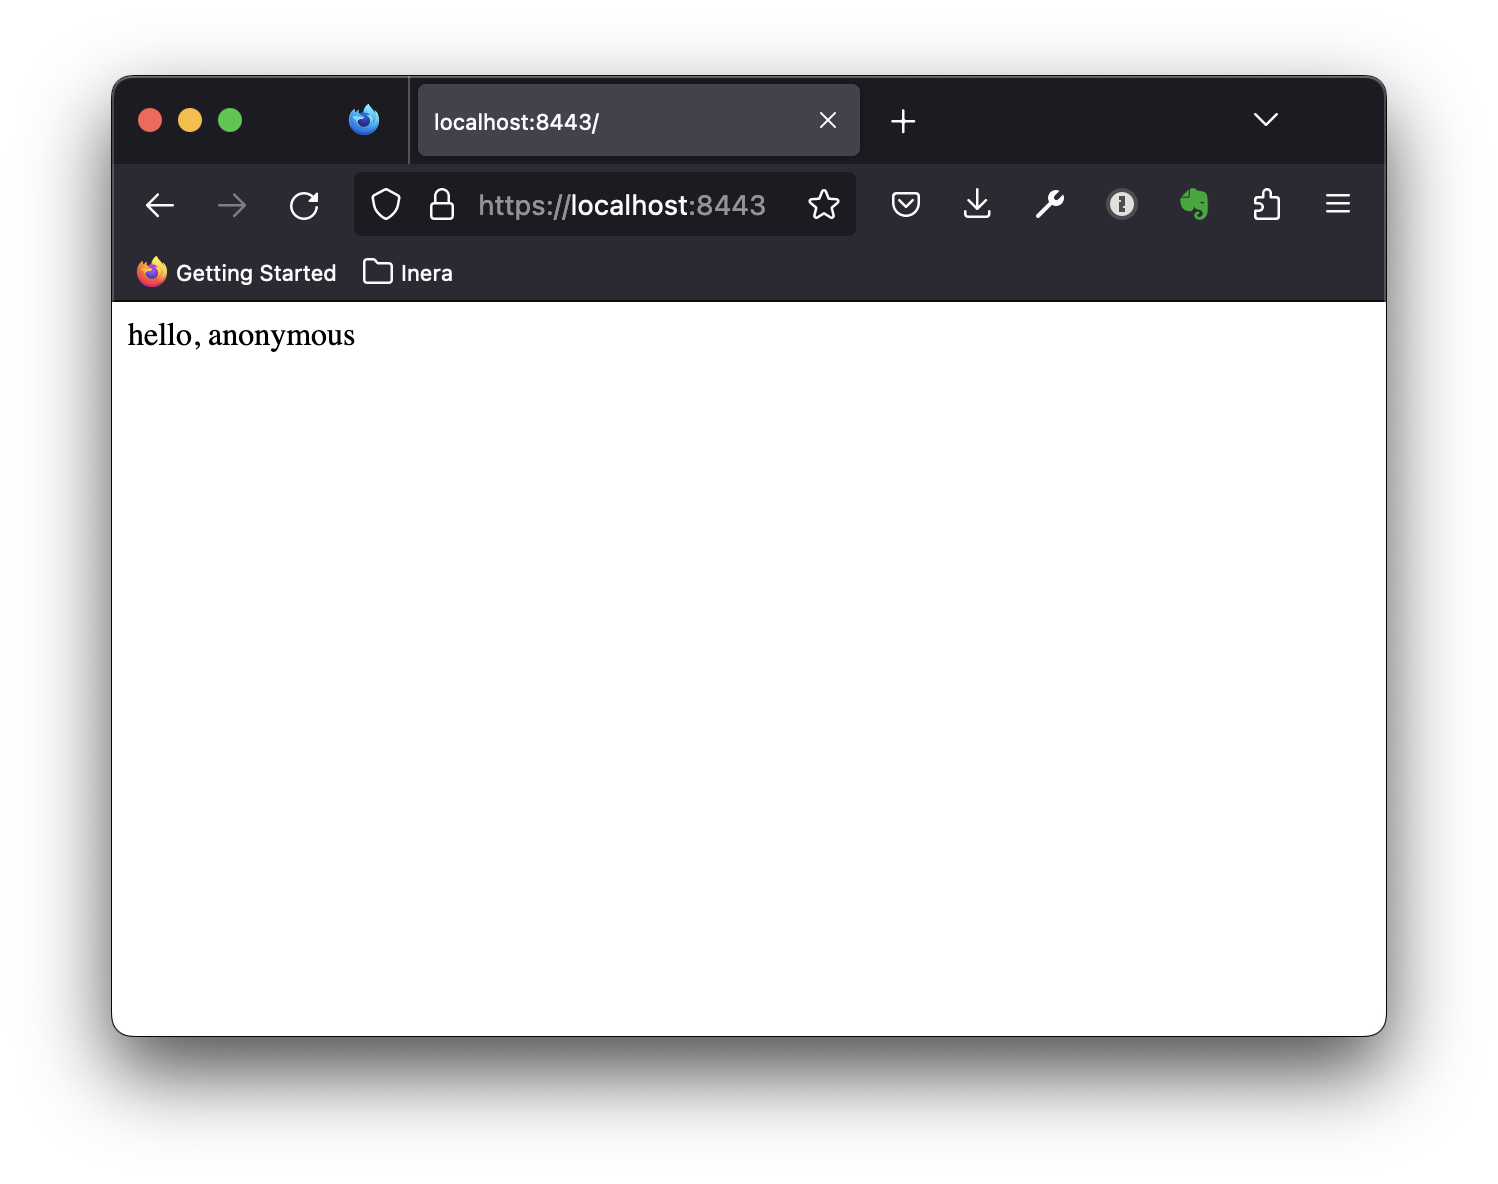
Installing the localCA.crt as a trusted CA, revisiting the page now works as expected:
This post summarizes the steps required to create a simple PKI for development. A fully working example can be found in the Github repository. Hopefully you’ll find this useful. Thanks for reading!